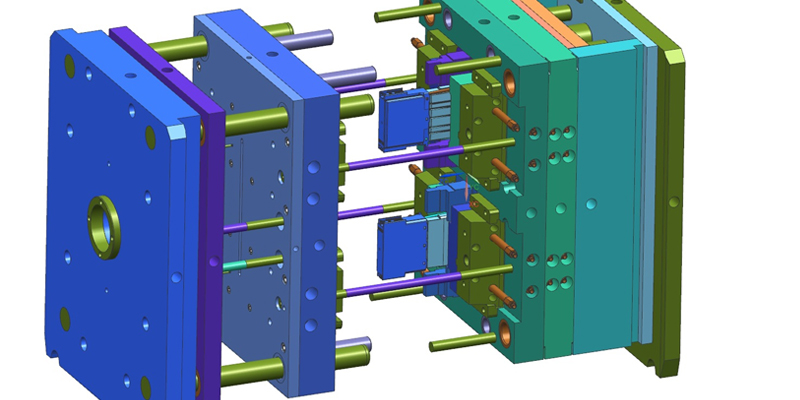
Producing rapid prototypes using injection molding involves several key steps, creating a rapid mold is one of the first and most critical steps in the process. Here's an overview of the typical steps involved:
Design Conceptualization and CAD Modeling: The process starts with a clear design concept for the part or product. This design is then turned into a detailed 3D model using computer-aided design (CAD) software. The CAD model is essential for both the prototyping and the tooling process.

Mold Design and Fabrication (Rapid Tooling):
The CAD model of the part is used to design the mold. This involves deciding the mold's material (commonly aluminum or softer grades of steel for rapid tooling), parting lines, gate location, ejection system, and cooling channels.
Rapid tooling techniques are employed to fabricate the mold. This can involve methods like CNC machining, 3D printing (additive manufacturing), or a combination of various techniques. The goal is to create the mold more quickly and at a lower cost compared to traditional tooling methods.
Material Selection for Prototyping: Choosing the right material for the prototype is crucial. The material should mimic the properties of the final product as closely as possible. For injection molding, this usually means selecting the appropriate type of plastic.
Setting Up the Injection Molding Machine: The rapid mold is then installed in an injection molding machine. The machine settings, such as temperature, pressure, injection speed, and cooling time, are adjusted according to the material being used and the specifics of the part design.
Molding the Prototype: The plastic material is melted and injected into the mold under high pressure. It cools and solidifies into the shape of the part.
Ejection and Post-processing: After the part has cooled and solidified, it is ejected from the mold. Post-processing steps like trimming excess material, sanding, painting, or assembly might be required, depending on the complexity and requirements of the prototype.
Quality Control and Testing: The prototype is inspected and tested to ensure it meets the desired specifications and quality standards. This may involve dimensional checks, functional testing, and other assessments relevant to the product.
Iterative Improvements (if necessary): One of the purposes of prototyping is to identify design or manufacturing issues. If problems are found or improvements are needed, the design may be modified, and additional prototypes may be produced. In some cases, this might require modifying or remaking the mold.
Final Validation and Transition to Production: Once the prototype meets all requirements and expectations, it can be used for final validation. If the prototype is successful, the process can transition to full-scale production, potentially using the same mold or a more durable version created for mass production.
Creating a rapid mold is indeed one of the initial and crucial steps in this process, and it sets the foundation for the subsequent steps in producing rapid prototypes through injection molding.
With cutting-edge technology and a team of experienced professionals, GD-HUB specializes in delivering precision injection molding solutions tailored to your specific needs. Whether it's encapsulating delicate electronic components, creating custom overmoldings, or producing intricate parts with minimal internal stress, GD-HUB's injection molding services stand out in the industry.
Make the move towards advanced manufacturing solutions.